使用Github Actions自动打包部署NextJS应用
- Published on
打包部署博客是一个重复机械的劳动,因此我想到使用 Github Actions 自动化整个流程。虽然有各种现成的Actions仓库,但对于第一次使用的我来说还是遇到了一些问题,在此记录一下。
目标
- 自动部署NextJS应用到Github Pages
- 源代码提交在私有仓库中,打包推送到username.github.io公开仓库
- 私有仓库main分支上的push操作触发action
创建actions
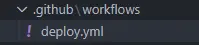
在项目根目录中新建.github/workflows目录,并新建deploy.yml相应操作代码在该文件中编写,GitHub会执行workflows目录下的所有文件。
使用到的Actions仓库
该仓库中包含不同框架项目的使用示例
⭐️ React and Next
name: GitHub Pages

on:
  push:
    branches:
      - main
  pull_request:

jobs:
  deploy:
    runs-on: ubuntu-22.04
    permissions:
      contents: write
    concurrency:
      group: ${{ github.workflow }}-${{ github.ref }}
    steps:
      - uses: actions/checkout@v3

      - name: Setup Node
        uses: actions/setup-node@v3
        with:
          node-version: '14'

      - name: Get yarn cache
        id: yarn-cache
        run: echo "YARN_CACHE_DIR=$(yarn cache dir)" >> "${GITHUB_OUTPUT}"

      - name: Cache dependencies
        uses: actions/cache@v3
        with:
          path: ${{ steps.yarn-cache.outputs.YARN_CACHE_DIR }}
          key: ${{ runner.os }}-yarn-${{ hashFiles('**/yarn.lock') }}
          restore-keys: |
            ${{ runner.os }}-yarn-

      - run: yarn install --frozen-lockfile
      - run: yarn build
      - run: yarn export

      - name: Deploy
        uses: peaceiris/actions-gh-pages@v3
        if: ${{ github.ref == 'refs/heads/main' }}
        with:
          github_token: ${{ secrets.GITHUB_TOKEN }}
          publish_dir: ./out
上述示例实现打包NextJS应用到运行此action的仓库中,默认推送到gh-pages分支(通过publish_branch选项修改推送分支)。
因此实现推送到其他仓库需要修改部分代码
      - name: Deploy
        uses: peaceiris/actions-gh-pages@v3
        with:
          personal_token: ${{ secrets.PERSONAL_TOKEN }}
          external_repository: username/username.github.io
          publish_branch: main
          publish_dir: ./out // 推送该指定目录下的文件
          commit_message: ${{ github.event.head_commit.message }}
personal_token个人令牌external_repository其他仓库的地址publish_dir推送该目录下的文件commit_message自定义commit信息
注意GITHUB TOKEN没有访问外部存储库的权限。请创建一个个人访问令牌,并将其设置为secrets,如personal_token: ${{ secrets.PERSONAL_TOKEN }}。
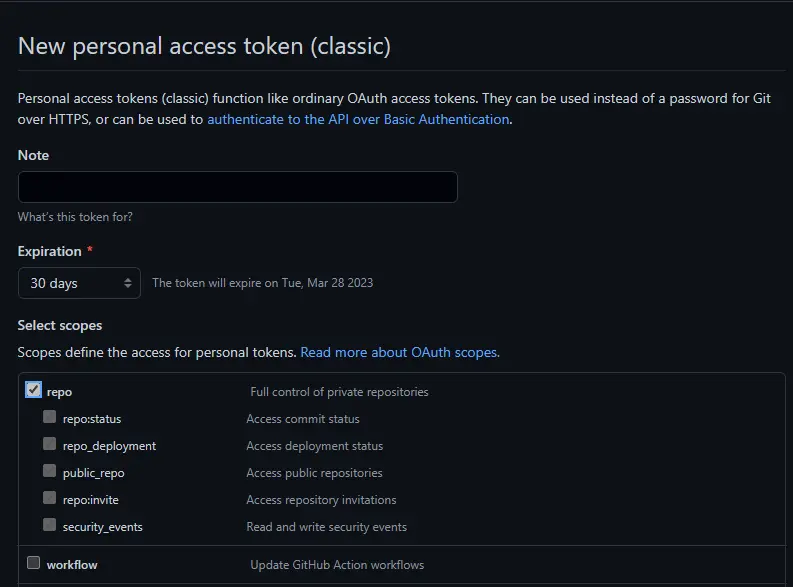
创建个人令牌
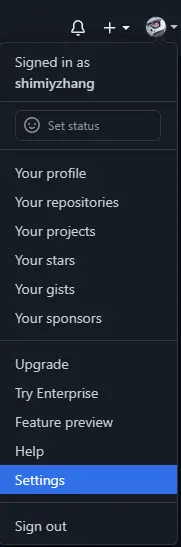
- 点击github页面右上角的个人头像,点击Settings
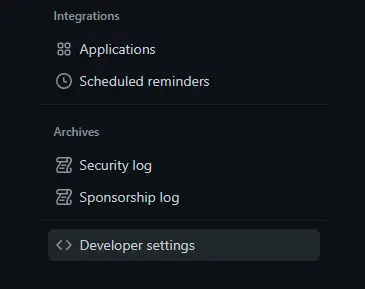
- 点击Developer settings
- 选择页面右下角的Tokens(classic),点击Generate new token(classic)
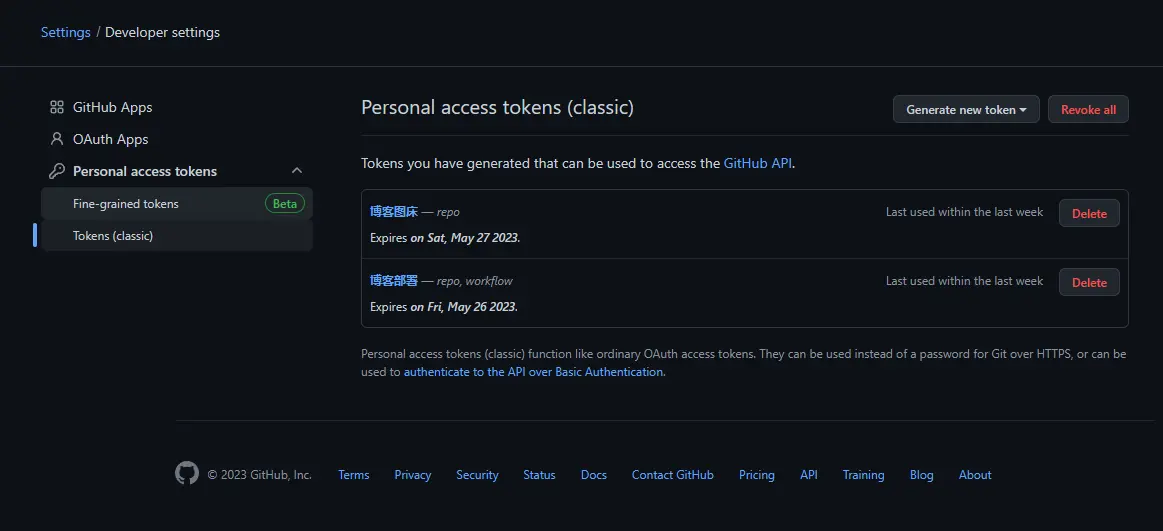
- 填写备注信息,选择有效时长,勾选repo,然后点击下方的Generate token按钮,生成token并复制
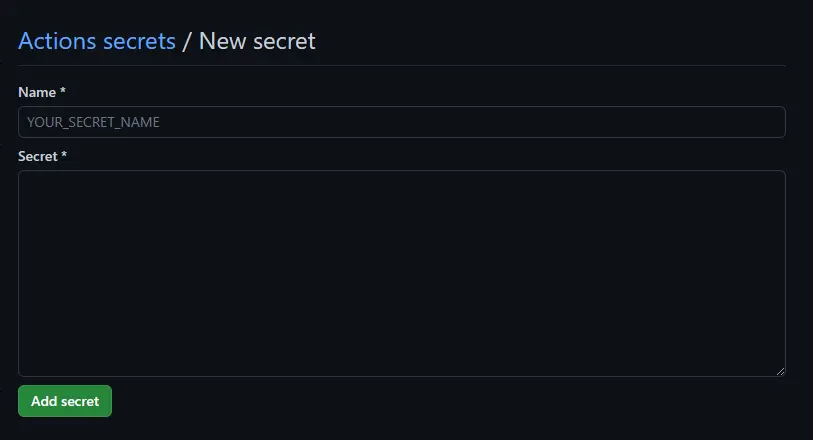
将生成的个人令牌绑定到项目的secrets
- 打开运行action的仓库,依次点击Settings->Actions-> New repository secret
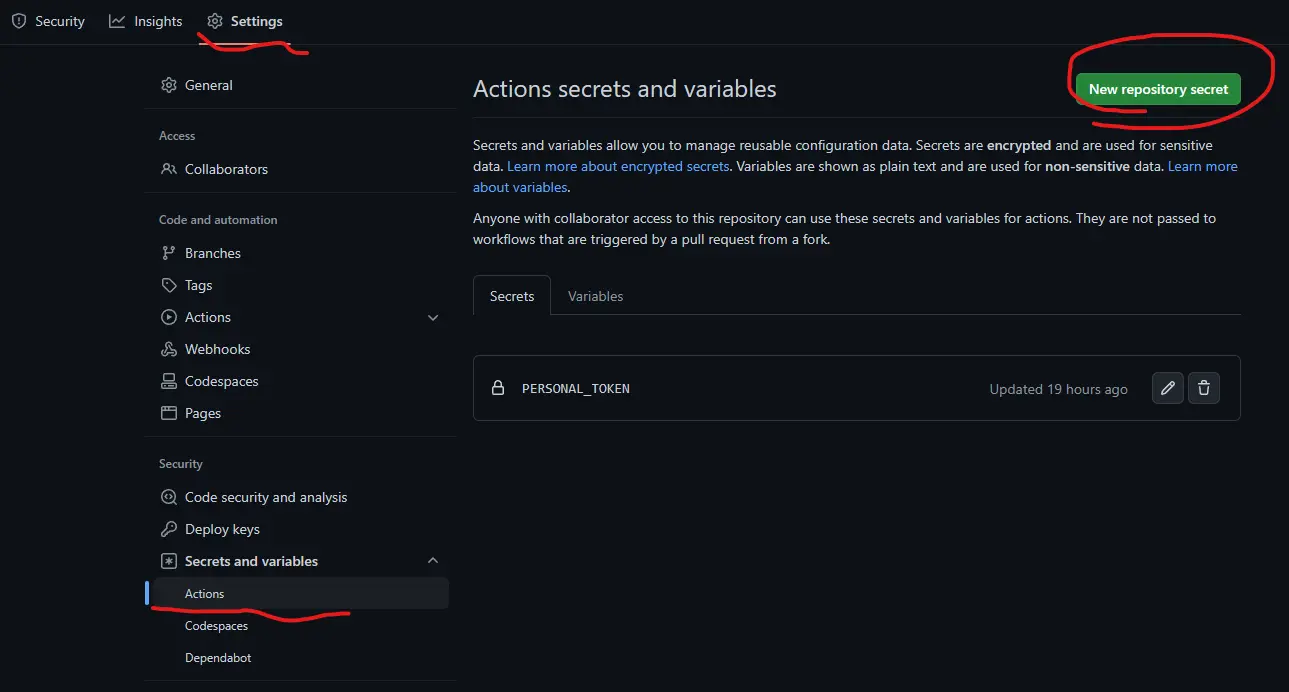
- Name输入
personal_token,Secret粘贴生成的个人令牌,点击Add secret
通过上面的配置,我们就可以在action中通过${{ secrets.PERSONAL_TOKEN }}访问到个人令牌
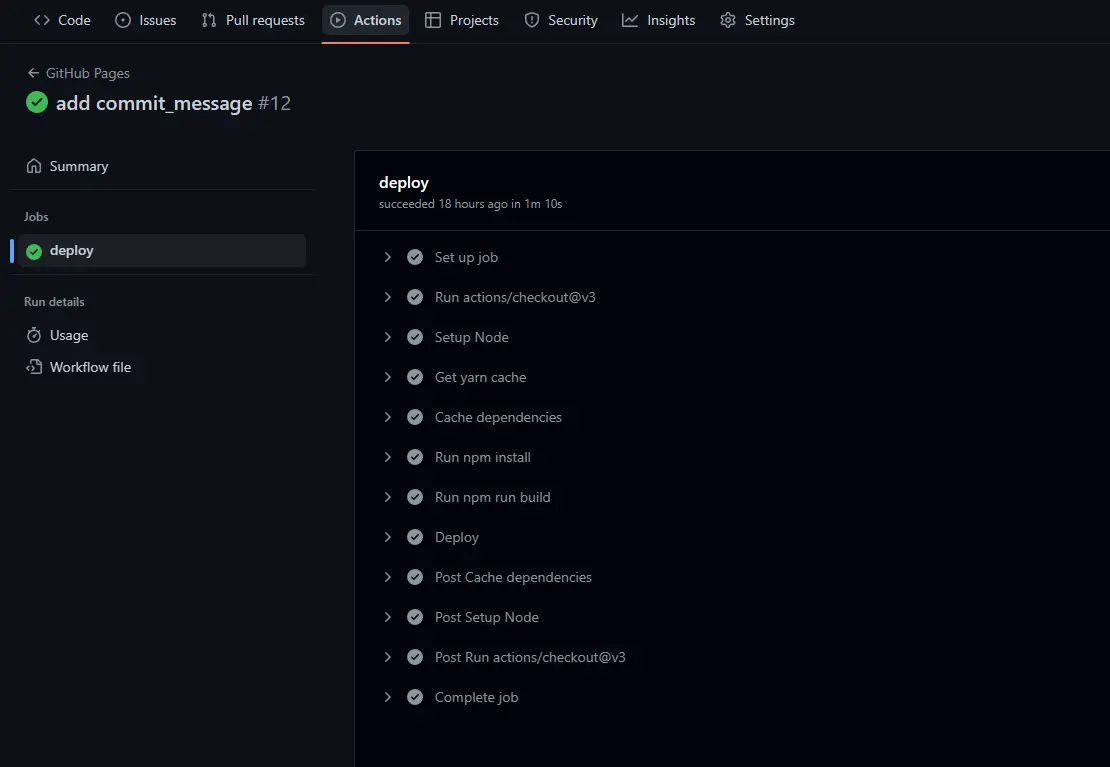
最后将新建的deploy.yml文件提交推送到远程仓库,就会自动触发action执行,构建打包我们的NextJS应用并推送到external_repository对应仓库的publish_branch对应的分支中
可以在仓库的Actions中查看action的执行过程,完成后打开GitHub Pages对应的仓库就能看到新提交的代码
以上就是本文的全部内容,感谢阅读。